
You can create stock items individually in the Stock Items view of the Back Office.
This is the recommended way of creating stock items with net content (such as wine bottles).
The following is a video example of stock item creation.
Create a Stock Item
-
Select Stock Handling in the Back Office Menu.
-
Click Stock Items. The Stock Items view is displayed.
-
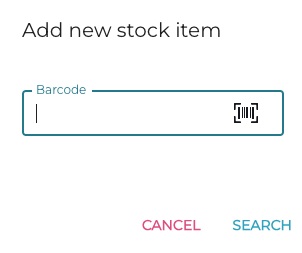
Click +Add. The Add new stock item window is displayed.
Add new stock item window -
Scan (or enter) the Barcode of the stock item, and click Search.
-
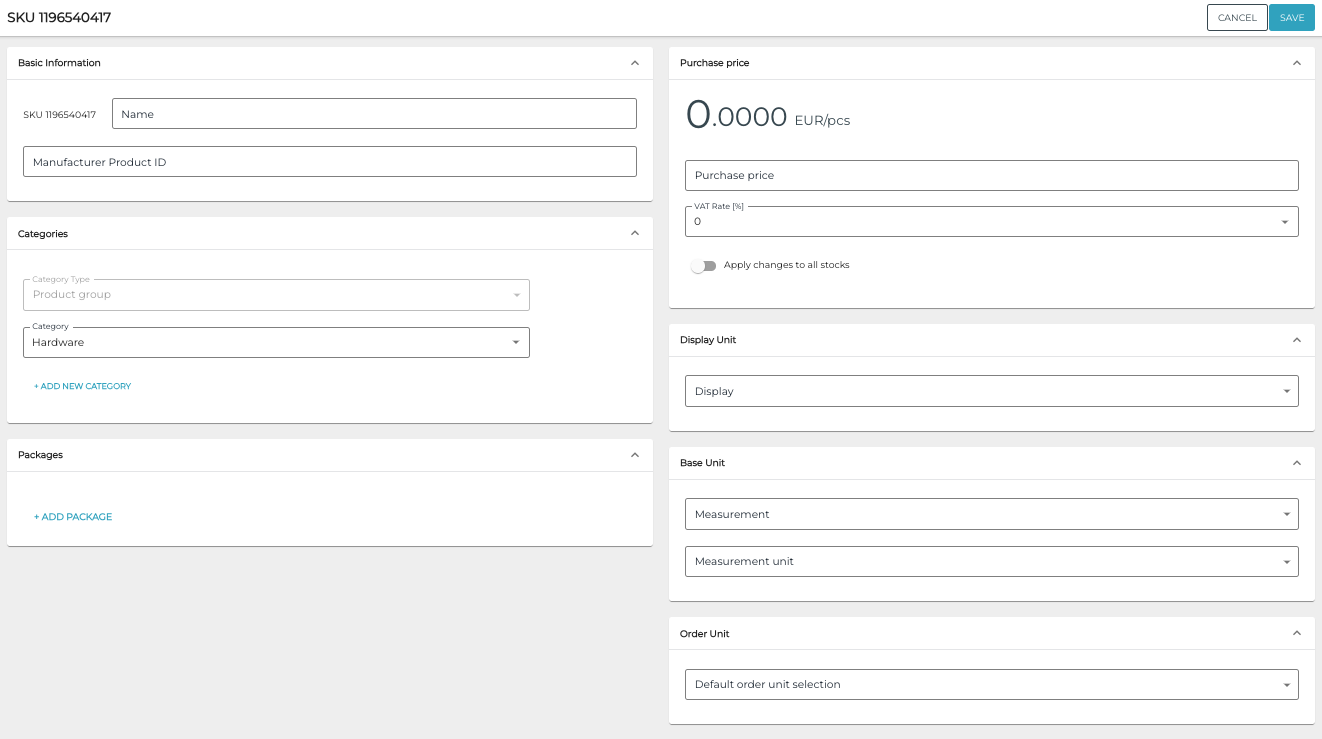
Enter the details for the stock item. The following details are mandatory:
-
Name
-
Purchase price
-
Display unit
-
Measurement and Measurement unit.
New stock item
-
-
Click Save to save your changes and create the new stock item.
After creating a stock item, you can create selling items (products and ingredients) for it by clicking +Create Selling Item or +Create New Ingredient, and entering the following information:
-
Name of the selling item
-
Category: Select a category for the selling item
-
Unit: Select the unit for the selling item.
-
Unit multiplier (only for products)
-
Price (only for products)

Margin will be calculated automatically, based on price of the selling item and purchase price of the stock item.
Example: Creating a Wine Bottle Product
In this example, we will create a Wine Bottle stock item with
-
net content,
-
an ingredient, and
-
a basic product attached to it.
-
Go to the Stock Items view in the Back Office.
-
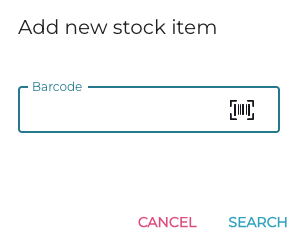
Create a new stock item by clicking on the +Add on the upper right corner. The Add stock item window is displayed,
Add new stock item window -
Enter the barcode for the product.
-
This can also be some other info, but this will be used in the stock handling as its identifier, so it is recommended to use the barcode information from the product.
-
-
Enter the following information for the product: Name, group level category, purchase price, VAT Rate.

New stock item -
In the Base Unit section, set Pieces as the Measurement and Piece or Bottle as the Measurement unit for the stock item.
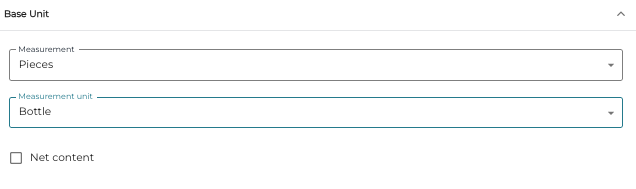
Base unit -
Click the Net content checkbox to active.
-
Set Volume as the Unit type, Centilitre as the Unit code. Enter the bottle size in centilitres to the Amount field.
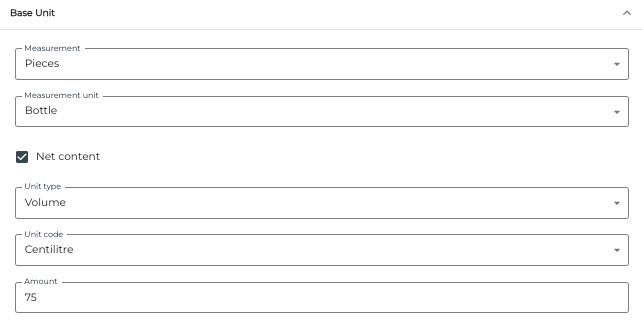
Net content -
Select the Measurement unit you selected in step 5 as the Display Unit for the stock item.

Display unit -
Select the Order Unit for the stock item.

Order unit -
Click Save to save your changes and create the new stock item.
-
Next, open the details of the stock item you created and click Edit.
-
In the Selling items section, click on the + Create new ingredient
-
Enter name for the ingredient and change the Unit to match the unit code on the stock item.
-
If you want your wine glass products and the whole bottle to be under the same POS product tile, you don’t have to create any other selling products.

New ingredient
-
-
Click + Create selling item.
-
Enter Name, Price and possible Selling Multiplier for the selling item(s).
-
This way you can have the whole bottle as its own POS product tile, and the glasses as their own product tiles.
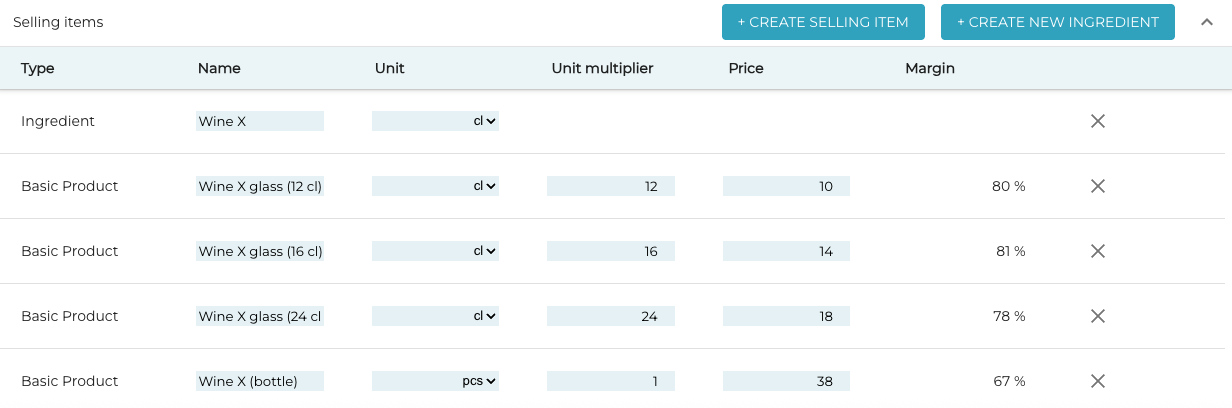
Selling items
-
-
Click Save to save your changes.