
In this example we create a generic customer (Staff Discount) and then a 10% discount for all purchases in all stores made using STAFF customer.
Create a generic Staff Discount Customer
Create first a generic customer which can be used as a stand-in for all staff members who are eligible for the staff discountdiscount.
-
Click Customers in the Back Office menu. Customers view is displayed.
-
In the Customer view click +Add new. Add New Customer window is displayed
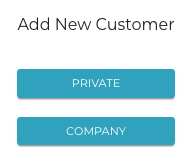
Add new customer window -
Select Private.
-
Customer Profile view is displayed. Enter customer's details.
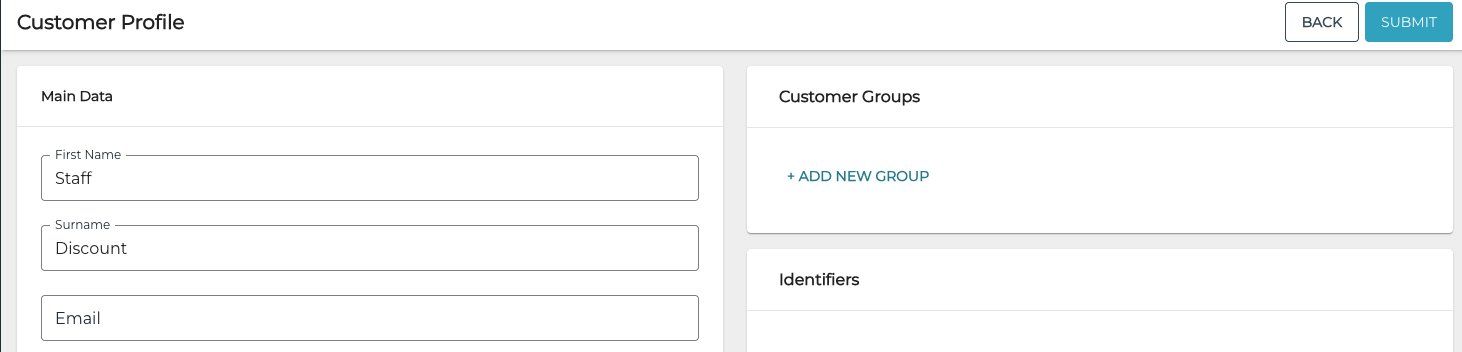
New generic customer profile (example) -
When you have filled out the details for the customer, save your changes and add the new customer to Solteq Commerce Cloud by clicking Submit.
Create a Reason Code for Staff Discounts
Create a reason code which is applied as a default to all purchases using staff discount. This way it is easy to see how much the staff discount is used in the Discount Report view.
-
Click Pricing and select Discount Reasons from in the Back Office menu. The Reason Codes view is displayed
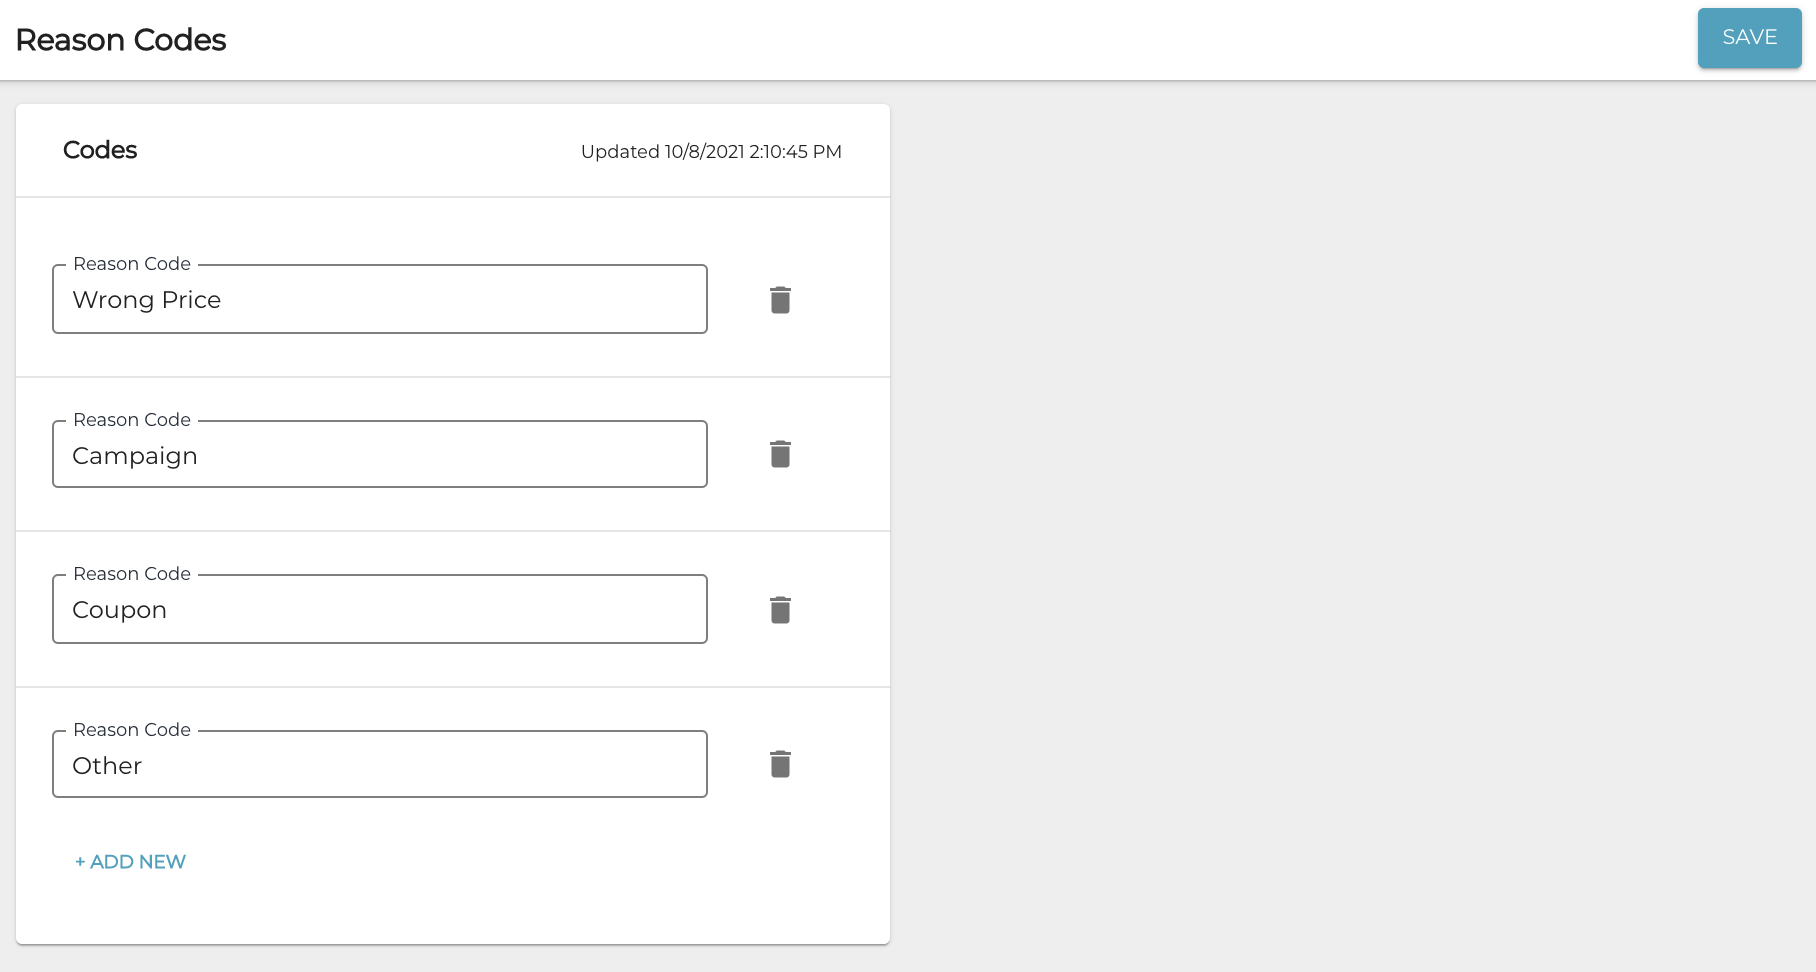
Reason Codes view -
Click +Add new.
-
Enter the new reason code name in the Reason Code field.
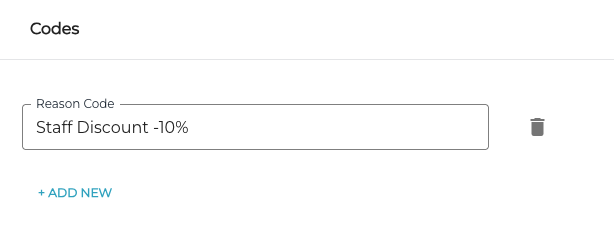
New reason code -
Click Save to create the new reason code.
Create the New Discount
-
Click Pricing and select Discounts in the Back Office menu.
-
Click +Add new.
-
Enter the Name and (optional) Description for the discount.
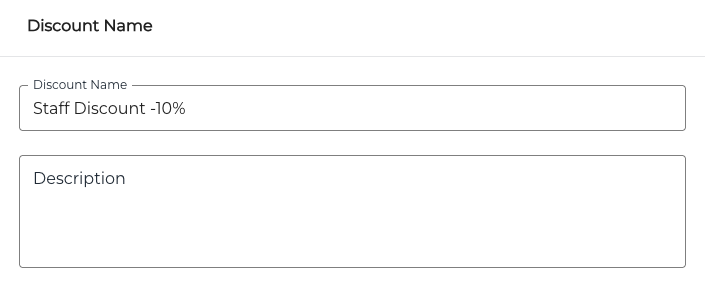
Name and Description fields for the discount -
(optional) If you want a specific text to be printed out in the receipt when the discount is used, click the Receipt text checkbox and enter the text into the Receipt text field which is displayed.
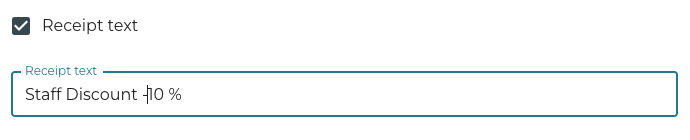
Discount receipt text (optional) -
Click the Discount Reason checkbox, and select the reason code from the drop-down menu.
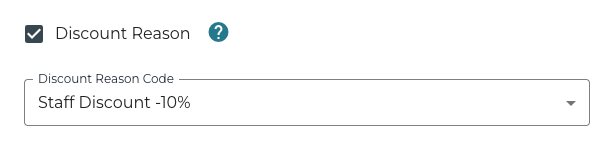
Discount Reason Code selected -
Define the Settings for the discount:
-
Discount: Simple
-
Discount type: Percentage
-
Discount percent: 10
-
Do not select any Stores; this way the discount will be applied in all Stores.

Discount settings
-
-
Define the start date/time and end date/time for the discount.
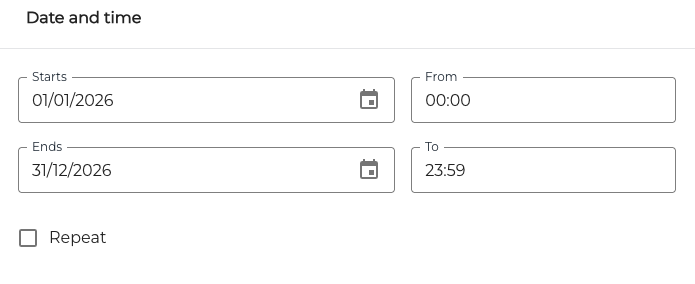
Discount start and end date & time -
Click Search Customer and select Single customer.
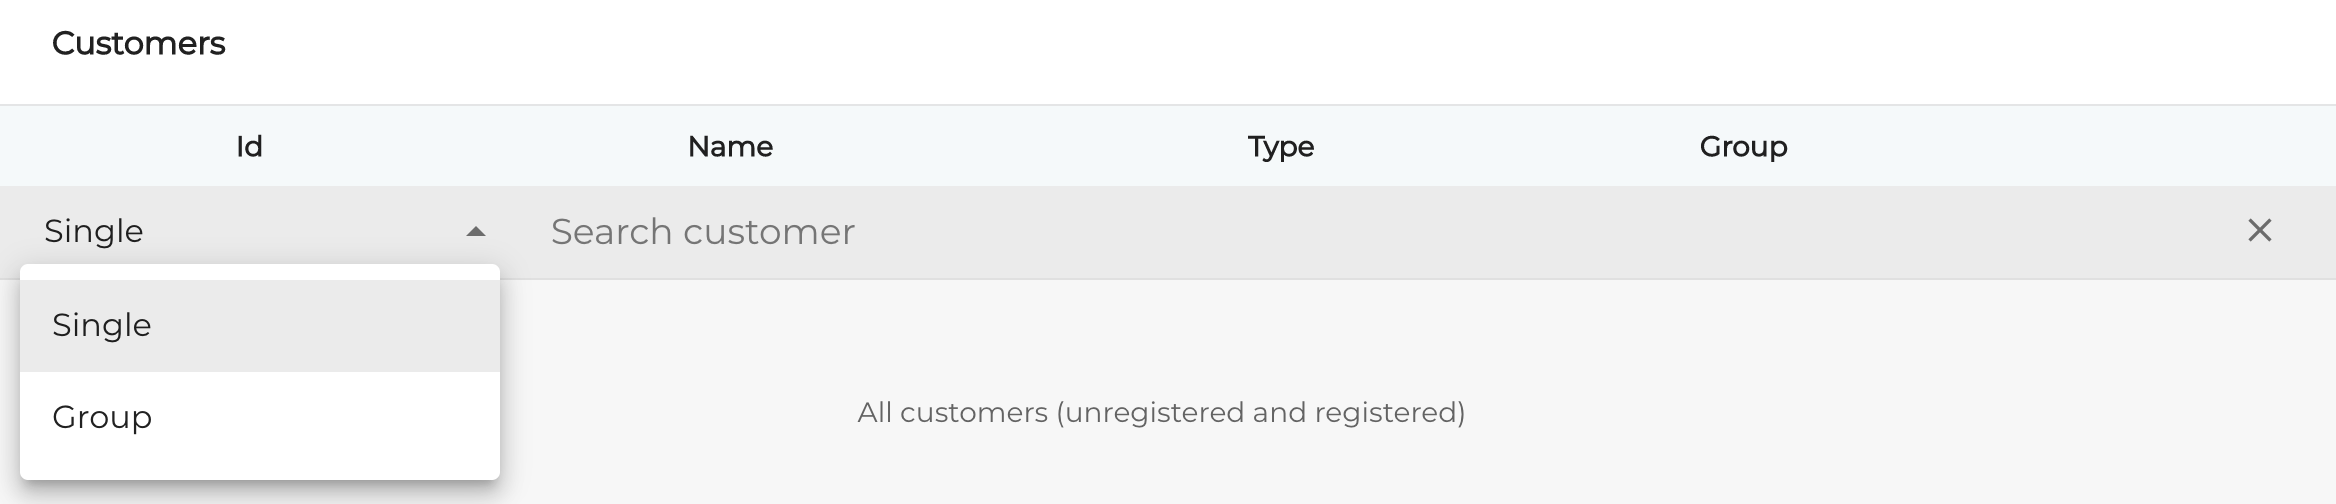
Customer search -
Start entering the name of the customer (Staff Discount). Search results will be displayed.
-
Select the Staff Discount customer by clicking on the checkbox.

Customer selected for the discount
-
Click Save to create the new discount. The discount is now listed in the Discounts view.

New discount in the Discounts view